Discovering the Issue
Table of Contents
Restoring scratched glass can be an impossible dream to many. Whether it’s a beloved picture window or a storefront, a conference table, windshield, or a massive sliding door, scratches diminish the aesthetic appeal. But fear not! There are effective methods to restore scratched glass to its former glory. This guide will explore the process, materials, and techniques involved in dry grinding scratched glass.
Understanding the Problem
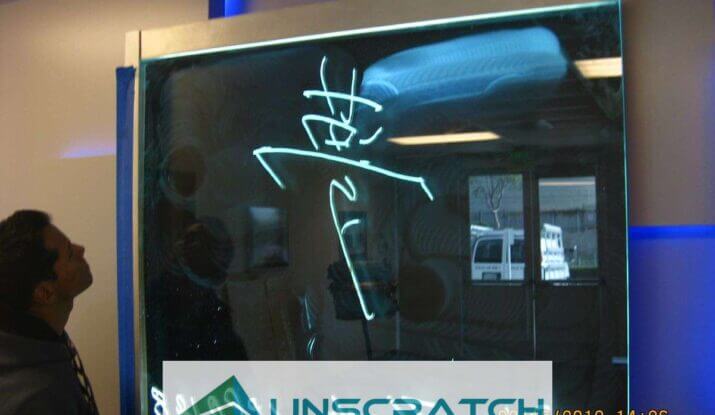
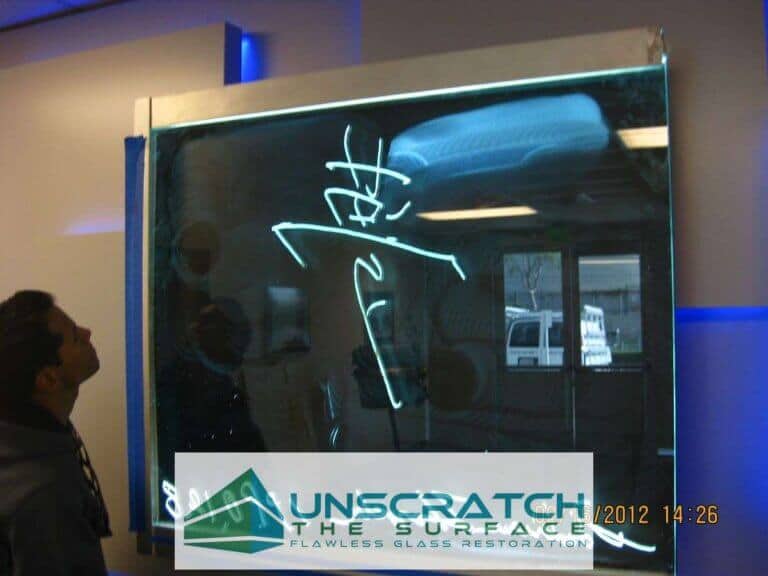
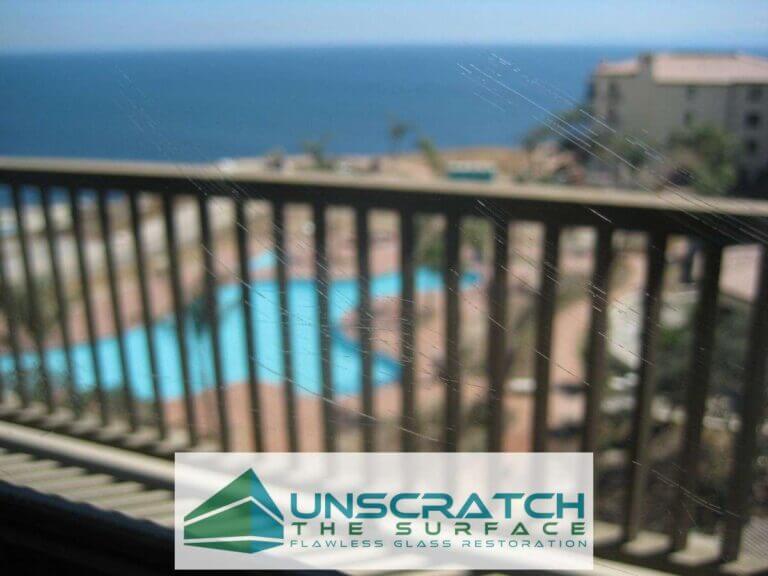
Scratches on glass vary in depth and severity. Some are barely noticeable, while others can significantly obscure vision.
- Shallow Scratches: Often caused by dust or minor abrasions.
- Medium Scratches: More pronounced, requiring careful attention. Caused by post construction cleaning using window scrapers.
- Deep Scratches: These can be challenging and may need professional intervention. Could be fabrication debris, grinding or welding damage or even carbide scribe damage.
Understanding the type of scratch is crucial for choosing the right restoration method. The trick is to be able to remove the damage as quickly as possible in the least amount of passes and time. Overworking the glass at any stage is usually what leads to distortion or wavy looking restored glass. In many cases, using the appropriate deep scratch repair techniques can significantly enhance the outcome without compromising the integrity of the glass. These methods not only address the visible defects but also ensure that the surface remains smooth and clear. By carefully selecting the right approach based on the scratch type, you can achieve a professional finish that revitalizes the glass and prolongs its lifespan. Additionally, it’s beneficial to study memorable scratched glass repair examples to better understand the techniques and tools employed by experts in the field. Learning from these instances can inspire confidence in your own repair work and help you avoid common pitfalls. By combining the right techniques with practical experience, you can achieve results that not only restore the glass’s appearance but also enhance its overall functionality.
The Dry Grinding Process
Dry grinding is a popular method for glass scratch removal. It involves using abrasive pads to gently grind away imperfections. We even have a patent! (Our dry grinding glass resurfacing patent!) This technique not only restores the clarity of the glass but also extends its lifespan by removing deeper scratches that could lead to more significant damage. As a result, our dry grinding method has become an essential part of widespread scratched glass solutions, catering to various needs from residential to commercial applications. The effectiveness and efficiency of this process make it a preferred choice for many seeking to maintain their glass surfaces. In addition to dry grinding, we also incorporate buffing techniques for glass scratches to achieve an even smoother finish. These techniques further enhance the clarity of the glass while providing an extra layer of protection against future scratches. Together, these methods ensure that our clients receive thorough and long-lasting results for their glass surfaces.
This patented method is effective for removing shallow scratches, polishing the glass, and restoring the clarity and smoothness of glass surfaces. With our dry grinding technique, we can easily get scratches out of glass without leaving any messy residue or causing damage to the surrounding area. Unlike most of our competitors, we leave no haze, swirls, or distortion either! This makes it a preferred method for both residential and commercial glass resurfacing projects. Our innovative approach combines efficiency and precision, ensuring that every project is completed to the highest standards. By utilizing advanced scratched glass repair techniques, we can tackle even the most stubborn imperfections, providing a seamless finish that enhances the overall aesthetic of the glass. Clients can trust us to deliver outstanding results that restore their glass surfaces to like-new condition.
Steps Involved:
- Assess the Scratch: Use a fingernail to determine the scratch depth.
- Select Abrasive Pads: Choose silicon carbide pads based on grit:
- 80 grit for deep scratches
- 120 grit for medium scratches
- 320 grit for shallow scratches
- Prepare Your Workspace: Ensure a clean, dry area free from debris.
- Start Grinding:
- Attach the selected pad to a handheld circular grinder.
- Work in an area twice the length of the scratch squared.
- Use circular motions to evenly distribute pressure.
- Feathering Technique: Gradually switch to finer pads to blend the repaired area with the surrounding glass.
- Temperature Monitoring: Keep an eye on surface temperatures; they should not exceed 150°F during grinding.
- Final Polish: Mist cerium oxide powder mixed with water onto a felt pad for a smooth finish. Less is better. Also, use the thinnest felt pads you can find.
Essential Materials
The right materials make all the difference in achieving a successful restoration.
Key Components:
- Abrasive Pads:
- High Quality Silicon carbide wet/dry pads (various grits)
- Color-coded for easy identification:
- Red (80), Green (120), Black (220), Blue (320), White (Felt)
- Handheld Rotary Sander/Polisher:
- Essential for applying abrasive pads effectively. Makita 3227c is our sander/polisher of choice. It’s a beast. Heavy but also heavy duty! We do not recommend DA or random orbital machines.
- Cerium Oxide Powder:
- A premium polishing agent that provides a crystal-clear finish. .9999 pure cerium preferred. Expensive but worth it.
Table: Abrasive Pad Grits and Uses
| Grit Level | Use Case | Color Code |
|---|---|---|
| 80 | Deep scratches | Red |
| 120 | Medium scratches | Green |
| 220 | Shallow scratches | Black |
| 320 | Final prepolish | Blue |
| Felt or Rayon | Polishing | White |
Real-Life Applications
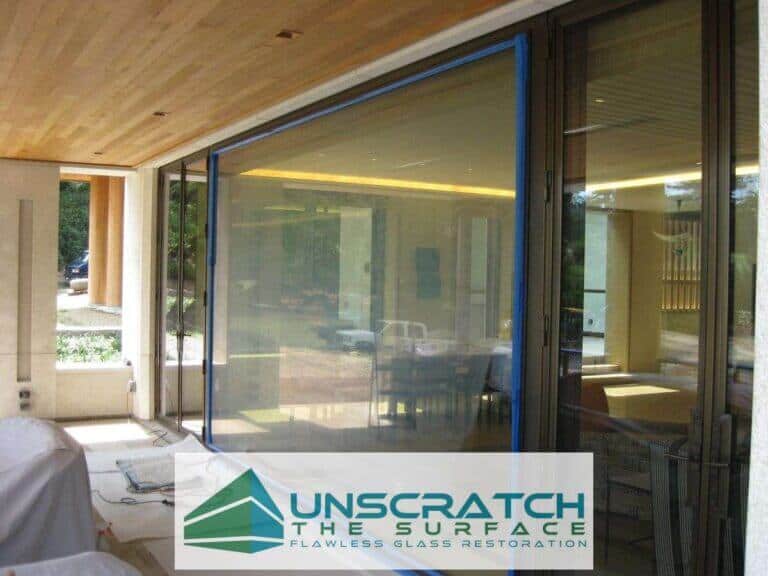
Restoring scratched glass is not just about aesthetics; it can save money and resources. For example, Unscratch the Surface recently completed a project at Notre Dame Football Stadium in South Bend, IN, showcasing how effective restoration can be in high-profile settings. These initiatives not only improve the appearance of the glass but also extend its lifespan, reducing the need for costly replacements. By highlighting successful scratch removal case studies, companies like Unscratch the Surface demonstrate their expertise and the potential benefits of restoration work. As more organizations recognize the value of maintaining their glass surfaces, the demand for skilled restorers is likely to grow, paving the way for innovative solutions in the industry.
Case Study: Notre Dame Football Stadium
The project at Notre Dame was a perfect widespread glass resurfacing case study. Good for the environment and good for the construction companies bottom line when compared to replacement cost.
-
- Challenge: Deep scratches on large glass panels.
-
- Details: 8500 square feet of deeply scratched tempered glass.
-
- Solution: Utilized dry grinding techniques with multiple grit levels.
-
- Outcome: Restored clarity and visual appeal without replacing expensive glass panels.
Benefits of Dry Grinding
Why choose dry grinding over other methods? Here are some compelling reasons:
-
- Cost-Effective: Avoids costly replacements.
-
- Eco-Friendly: Reduces waste by restoring rather than discarding.
-
- Versatile: Suitable for various types of glass surfaces, including windows and decorative pieces.
Common Mistakes to Avoid
While restoring scratched glass might seem straightforward, there are pitfalls to watch out for:
-
- Using Incorrect Grits: Starting with too coarse a pad can worsen scratches. (60 grit is definitely going to create deeper scratches and gouges in the grinding process. We do not recommend 60 grit.)
-
- Neglecting Temperature Control: Overheating can lead to cracks or further damage. (Especially in annealed or even heat strengthened glass)
-
- Skipping Final Polish: Failing to polish completely can leave visible marks and reduce clarity. (Where there is haze, there are swirls, incomplete polishing.)
Maintenance Tips Post-Restoration
Once you’ve successfully restored your glass, maintaining it is key to prolonging its life:
-
- Regular Cleaning: Use gentle cleaners; avoid abrasive materials that could scratch again.
-
- Protective Coatings: Consider applying a protective film or coating after restoration.
-
- Avoid High Impact Areas: Be mindful of where you place restored items to minimize future damage.
Conclusion: The Future of Glass Restoration
As technology advances, so do methods for restoring scratched glass. Dry grinding remains a tried-and-true technique that balances effectiveness with sustainability.
Unscratch the Surface continues to be the leader in the field of saving scratched glass. They started this industry in 2005 and continue to evolve, adapt and improve in every aspect of the glass restoration industry.
By understanding the process and using the right materials, anyone can tackle scratched glass repair issues confidently. Whether you’re a DIY enthusiast or a professional, mastering these techniques will ensure your glass surfaces shine bright once again! For those who are unsure about tackling scratched glass themselves, consider hiring a professional glass refinishing service. These specialists have the expertise and tools to effectively restore scratched glass surfaces to their former glory. With a professional by your side, you can have peace of mind knowing that your glass is in good hands. Additionally, cost effective glass polishing services are available for those looking to save money while still achieving high-quality results. These services are a great option for individuals and businesses looking to revitalize their glass surfaces without breaking the bank. With the right skills and resources, anyone can successfully tackle scratched glass and bring back its luster. Additionally, there are several DIY kits available on the market that can help you remove scratches from glass with ease, making the process more accessible for beginners. However, it’s important to remember that deeper scratches may require specialized tools and techniques, which is where professional services can truly make a difference. Whether you choose to DIY or go with a trusted expert, restoring clarity and smoothness to your glass surfaces is entirely possible. Moreover, opting for professional services can also save time on glass scratch repair, allowing you to focus on other important tasks or projects. With their knowledge and experience, professionals can quickly assess the damage and implement the most effective solutions, minimizing downtime for your glass surfaces. Ultimately, whether you’re a DIYer or a client seeking expert assistance, achieving pristine glass is an attainable goal that enhances the aesthetic of your space. When exploring scratched glass repair techniques, it’s essential to consider the specific type of glass involved, as different materials may require tailored approaches. Additionally, staying informed about the latest advancements in glass restoration can further enhance the effectiveness of your repair efforts, whether done independently or with professional help. By combining knowledge, proper methods, and a commitment to achieving flawless results, you can ensure that your glass surfaces remain beautiful and functional for years to come. Furthermore, specialized techniques are available for more delicate surfaces, especially when it comes to removing scratches from classic car windows. Many vintage vehicles feature unique glass compositions that require a gentle touch and expert knowledge to avoid causing further damage. By investing the time to learn about these specific methods or consulting with professionals experienced in classic car restoration, you can ensure that your cherished vehicle maintains its original beauty and value. In addition, it’s beneficial to explore various scratched glass restoration techniques that cater to specific needs, such as antiques or modern designs. These tailored approaches can help deliver optimal results while preserving the integrity of the glass. As you embark on your journey to restore scratched glass, remember that patience and precision are key in achieving the desired outcomes.
Use our contact us form, call, or text. 805-295-9020
